Since watering is so essential to plant growth and is time-consuming, we installed drip irrigation. This is experimental as there are various options for drip tape thickness, diameter, emitter spacing, and flow rate; we weren't sure what type to install. So we relied on guidance from Trevor at Brookdale Fruit Farm in Hollis, New Hampshire. They sell irrigation supplies and when we showed up he put together the various components that we needed: a big (too big) roll of Toro Aqua-Traxx irrigation drip tape, shut-off valves, drip couplers (if we spring a leak in the tape), insert tool (to make the holes in the mainline), and the pressure valve.
The pressure valve cost $95, but apparently it is essential to avoid blowing out the drip tape. We have three raised beds in the backyard that we've rigged up with drip tape, but no pressure valve. If we blow holes in the tape we'll know that you do indeed need a pressure valve! Here is how the pressure valve set-up looks in the main garden.

In addition to all the equipment from Brookdale, we still needed to buy the "mainline" which connects from the hose/valve to each drip tape. Trevor suggested buying (from Home Depot) 1" low density PVC pipe for use as the mainline. It took us a while to figure out how to use the insert tool (a $25 plastic tool!) to punch holes in the mainline. After another call to Brookdale for advice, Srini mastered the technique using a socket wrench and a hammer to pound the shut-off valves into the mainline. he had to do this on the paved driveway--a hard surface was necessary to penetrate the hard PVC pipe. Here is the end result.

And here is one of our 36" garden rows with two drip tapes, spaced about a foot apart.

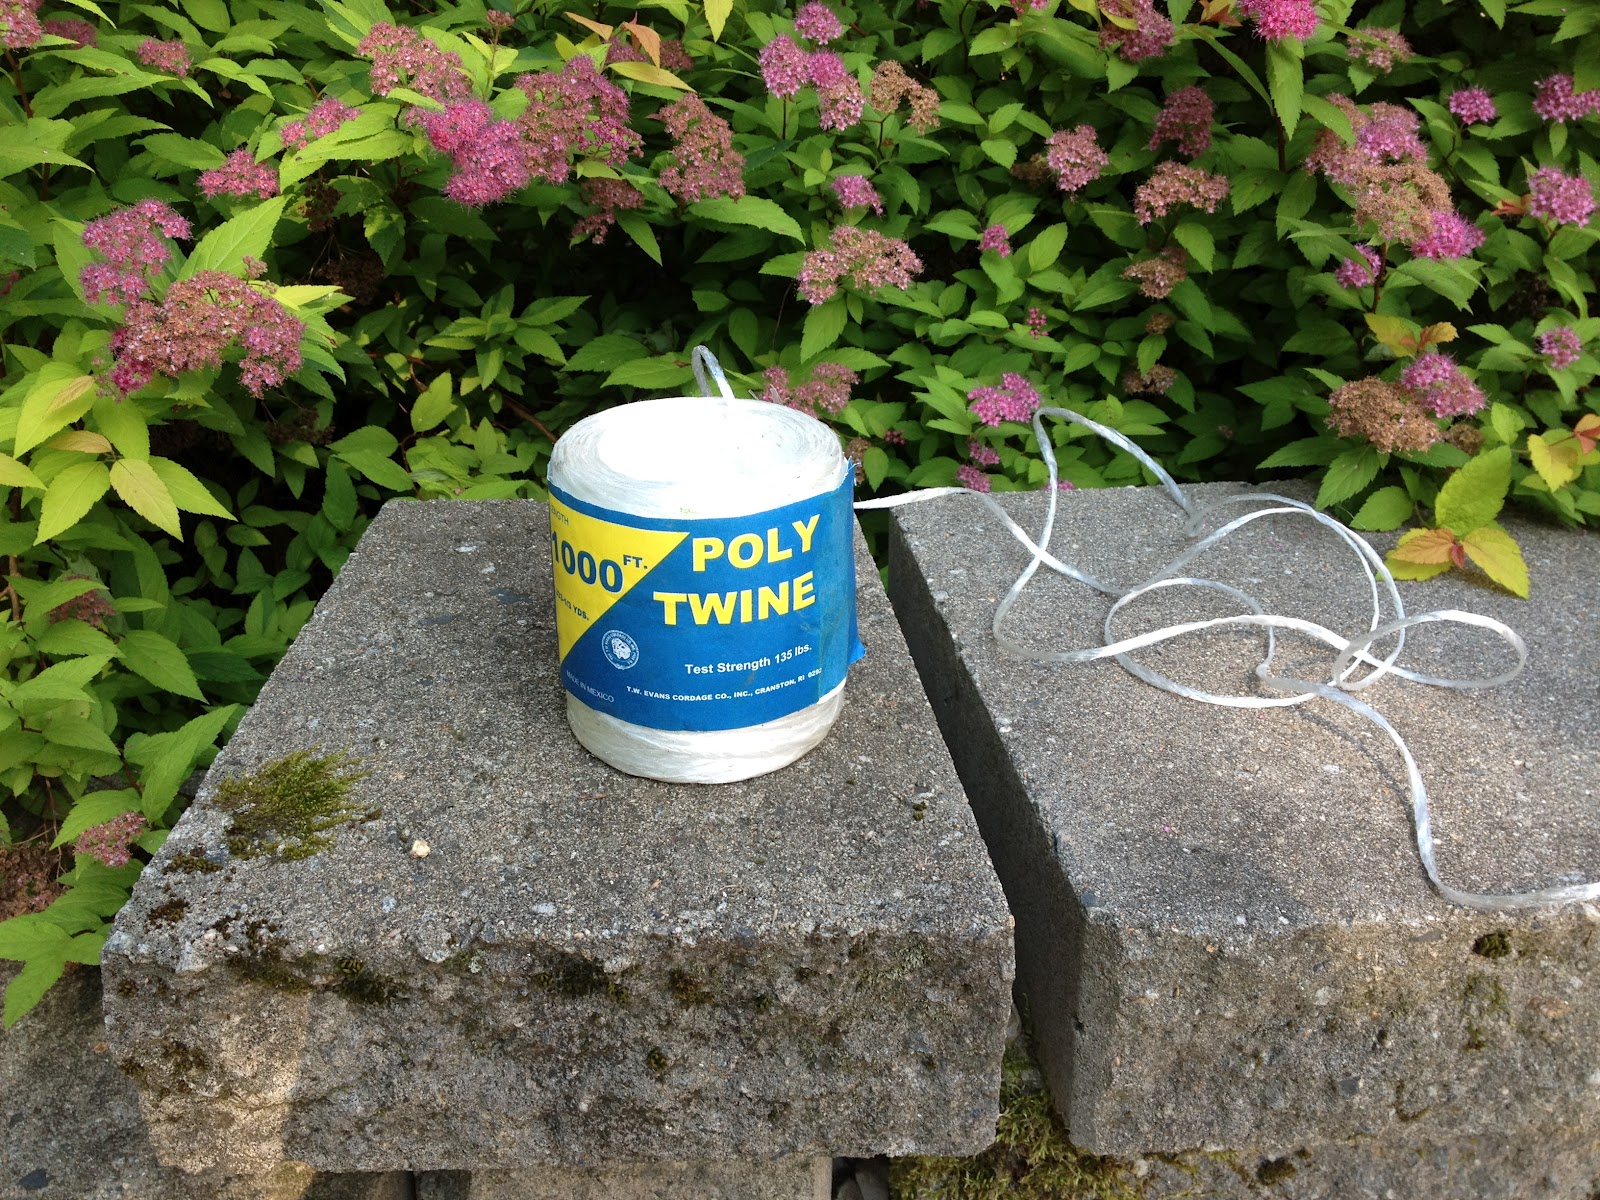
The other new technique this year is the use of the "Florida Weave" to stake the tomatoes. In the past we've caged each plant and staked the cage. After trying to puncture the landscape fabric with the 4-pointed cages and then realizing that we might have punctured the drip tape, we tossed out that approach. Instead, I placed 4-5-foot stakes in each tomato row, spaced every three tomatoes. Then wove the tomato twine from stake to stake, sandwiching each tomato plant between two strands. As the plants get taller, I'll repeat this a couple more times. Here is how it looks.
The Twine
The Weave

The Tomato Row

You can watch a nice You Tube video on doing the Florida Weave here.
I am really enjoying the garden this year. Sure, it takes a bit of time, but I enjoy walking the rows each morning and evening to see how the garden grows, to check for pesky pests, and to harvest food for dinner.


I'd been meaning to write about how guilty I felt about the late state of our garden after seeing the 'First Cucumber' title. But as I went to read it just now I found myself reading a lengthy story about the wonders of drip irrigation instead!
ReplyDeleteIt's been so long, probably 15 years, since we bought ours and it seems like the technology has changed a lot. But not the difficulties. I remember having the hardest time figuring out how to make the connections and then physically getting them to work. We used, and still use, a setup of drip hoses made from old tires with plastic connectors.
Since we have 8 4x8 raised beds, two borders and a few other areas that need to be watered I've come up with an incredible hodge-podge to cover all areas. The main problem is that I don't label the parts and each year have to figure out once again how in the world they all work together.
But it's always seemed worth it to me. I think that you probably spent a lot more than us, but you're doing it 15 years later and on a much larger scale. My guess is that by October, if not before, you'll be quite happy with the results.
Now if only I could find somewhere to paint my incredibly late cucumbers!
Hi Ken,
ReplyDeleteYour watering hodge-podge sounds more innovative than mine....and cheaper. Not sure my investment was worth the cost, but I sure like not having to stand in the hot sun and water. And that first cucumber from New Roots was really, really sweet :)
Ellen
Thanks for posting all of the pictures and information. I've been considering using drip irrigation in my garden, but I wasn't quite sure how to do it. Thanks for all of the tips.
ReplyDeleteHi Tarah,
ReplyDeleteI'm glad the tips were useful. I am so glad I installed it, especially during these hot, dry periods.
Ellen